Below you will find detailed instructions describing how to download svg cut files and import them into Cricut design space. The first time can be somewhat tricky and it’s not always obvious what to do next. But, don’t worry! I have you covered! Read below to find out how easy it is. Once you do it a few times, you will have no problem downloading SVG cut files and will be able to do it in your sleep. I also have a video showing the steps how to download svg cut files at the bottom of this page. Let’s get started!
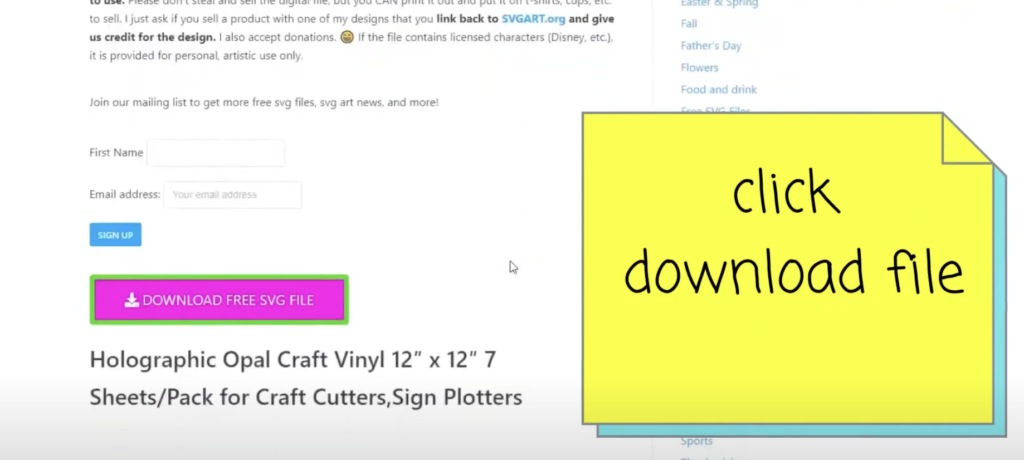
Step 1: Click Download File
Click the download free svg file button on our website.
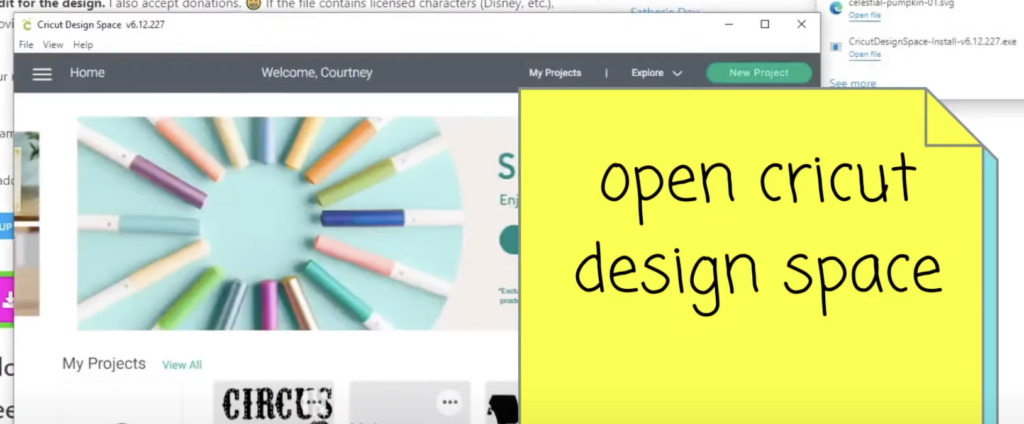
Step 2: Open Cricut Design Space
Open up your Cricut Design Space App on your computer.
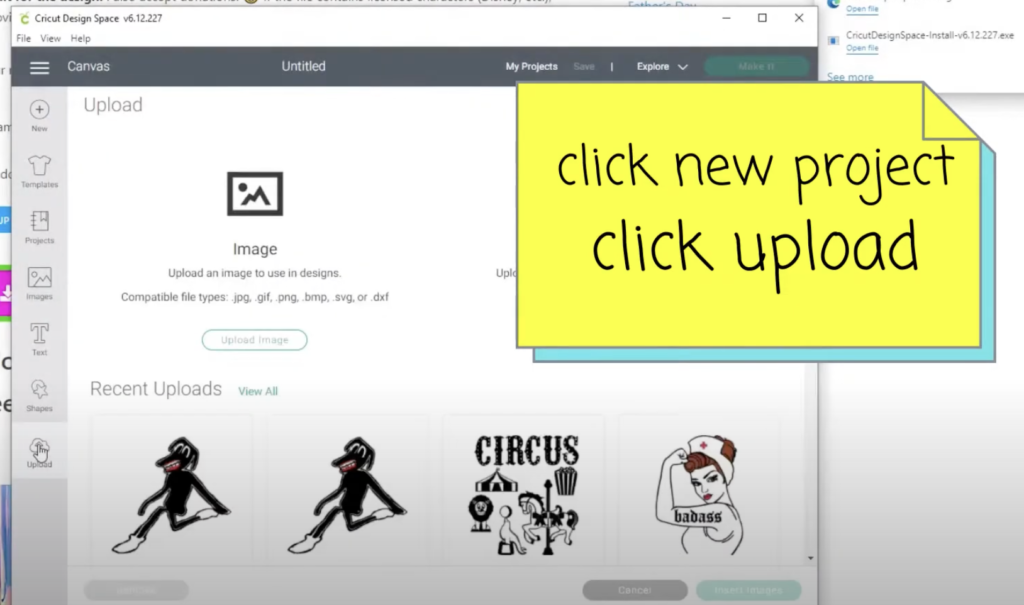
Step 3: Click New Project
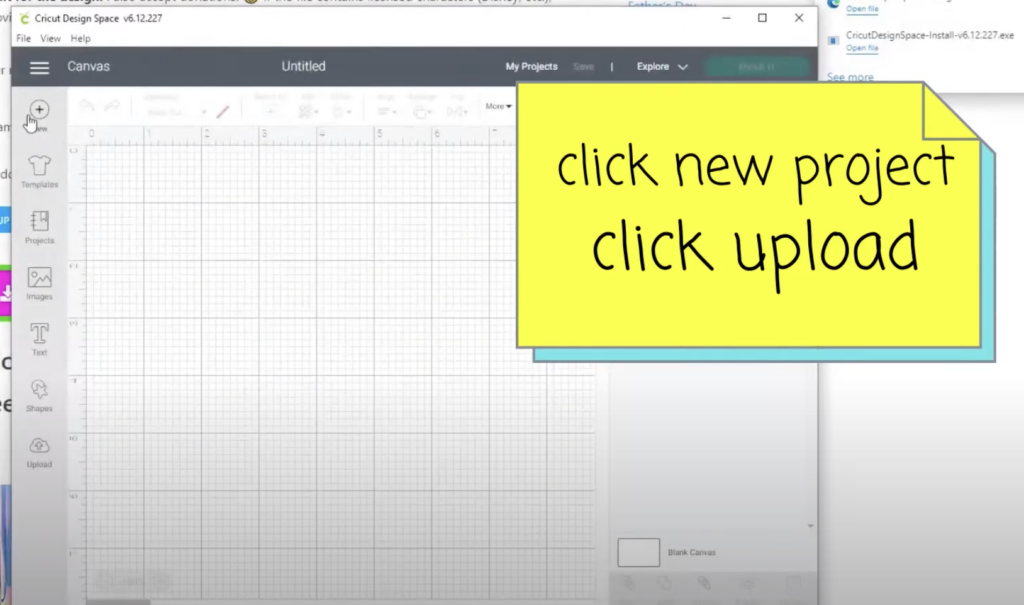
Step 4: Click Upload Image
Step 5: Click Browse
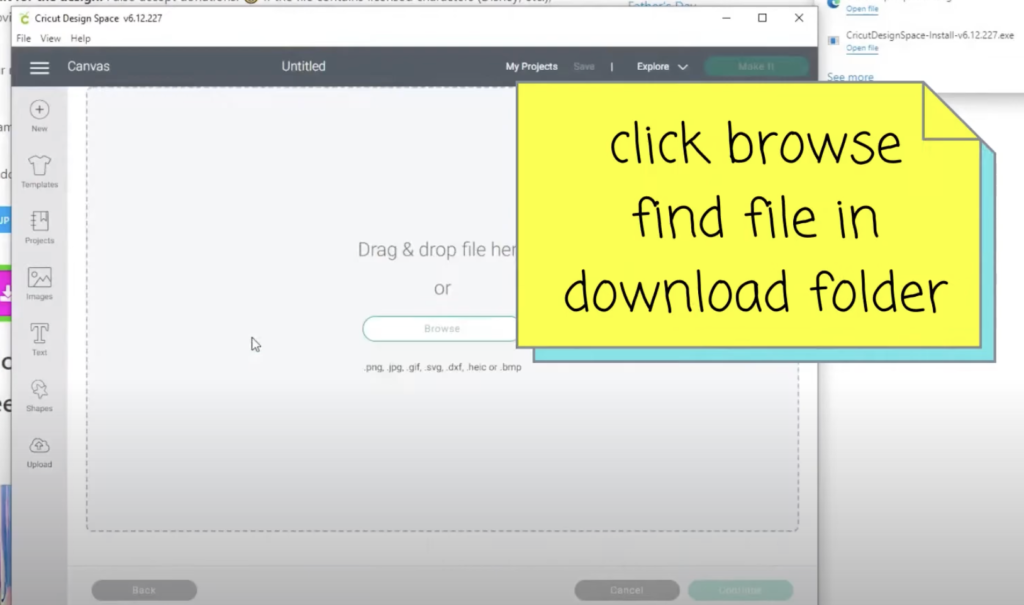
Step 6: Browse to your downloads folder
Most of the time, svg file downloads will be saved in the default downloads folder on your computer. To find the file, locate the downloads folder and click it. The SVG Art file you downloaded should be in the folder.
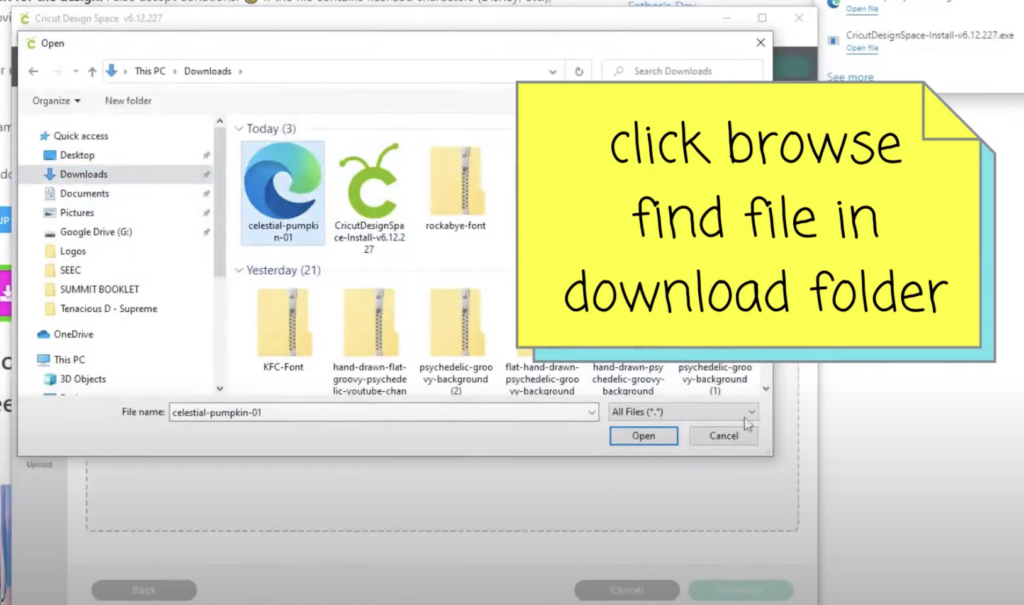
Step 7: Click Open
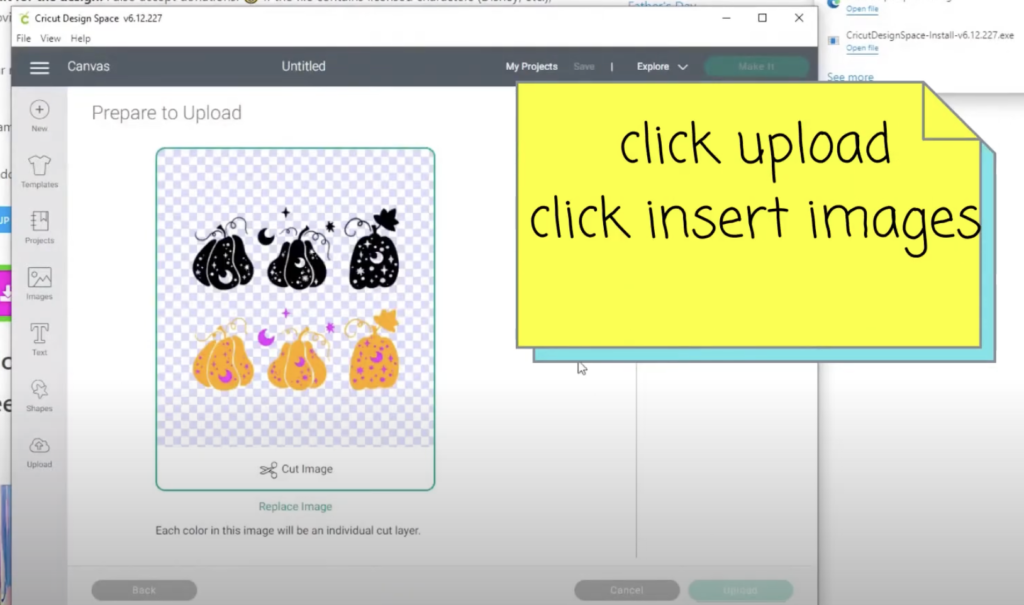
Step 8: SVG cut file will appear in Design Space Canvas

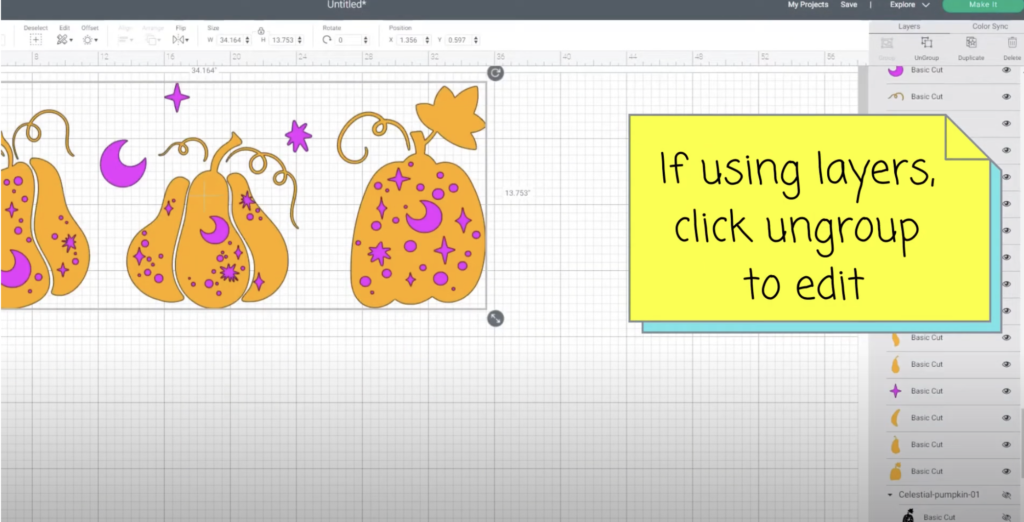
Step 9: If using Layered Art, Click Ungroup to Edit
Sometimes SVG Art files that have more than one color are layered files. You can separate the layers in these files so they can be cut one at a time on different colored vinyl or other material. To separate the layers, select the art and then click “ungroup”. Once the file is ungrouped, you can move each piece individually. To move all of one color at once, select each piece of that color in the right hand menu and move them all together.
Video Tutorial: How to Download SVG Cut Files
Watch the video below to see in real time how to download svg files and import them into design space. I hope you find this video helpful. Downloading SVG files is easy and free from svgart.org.
You May Also Like:
 Monster Truck SVG – Free Monster Truck SVG Download
 Dream Catcher SVG – Free Dream Catcher SVG Download
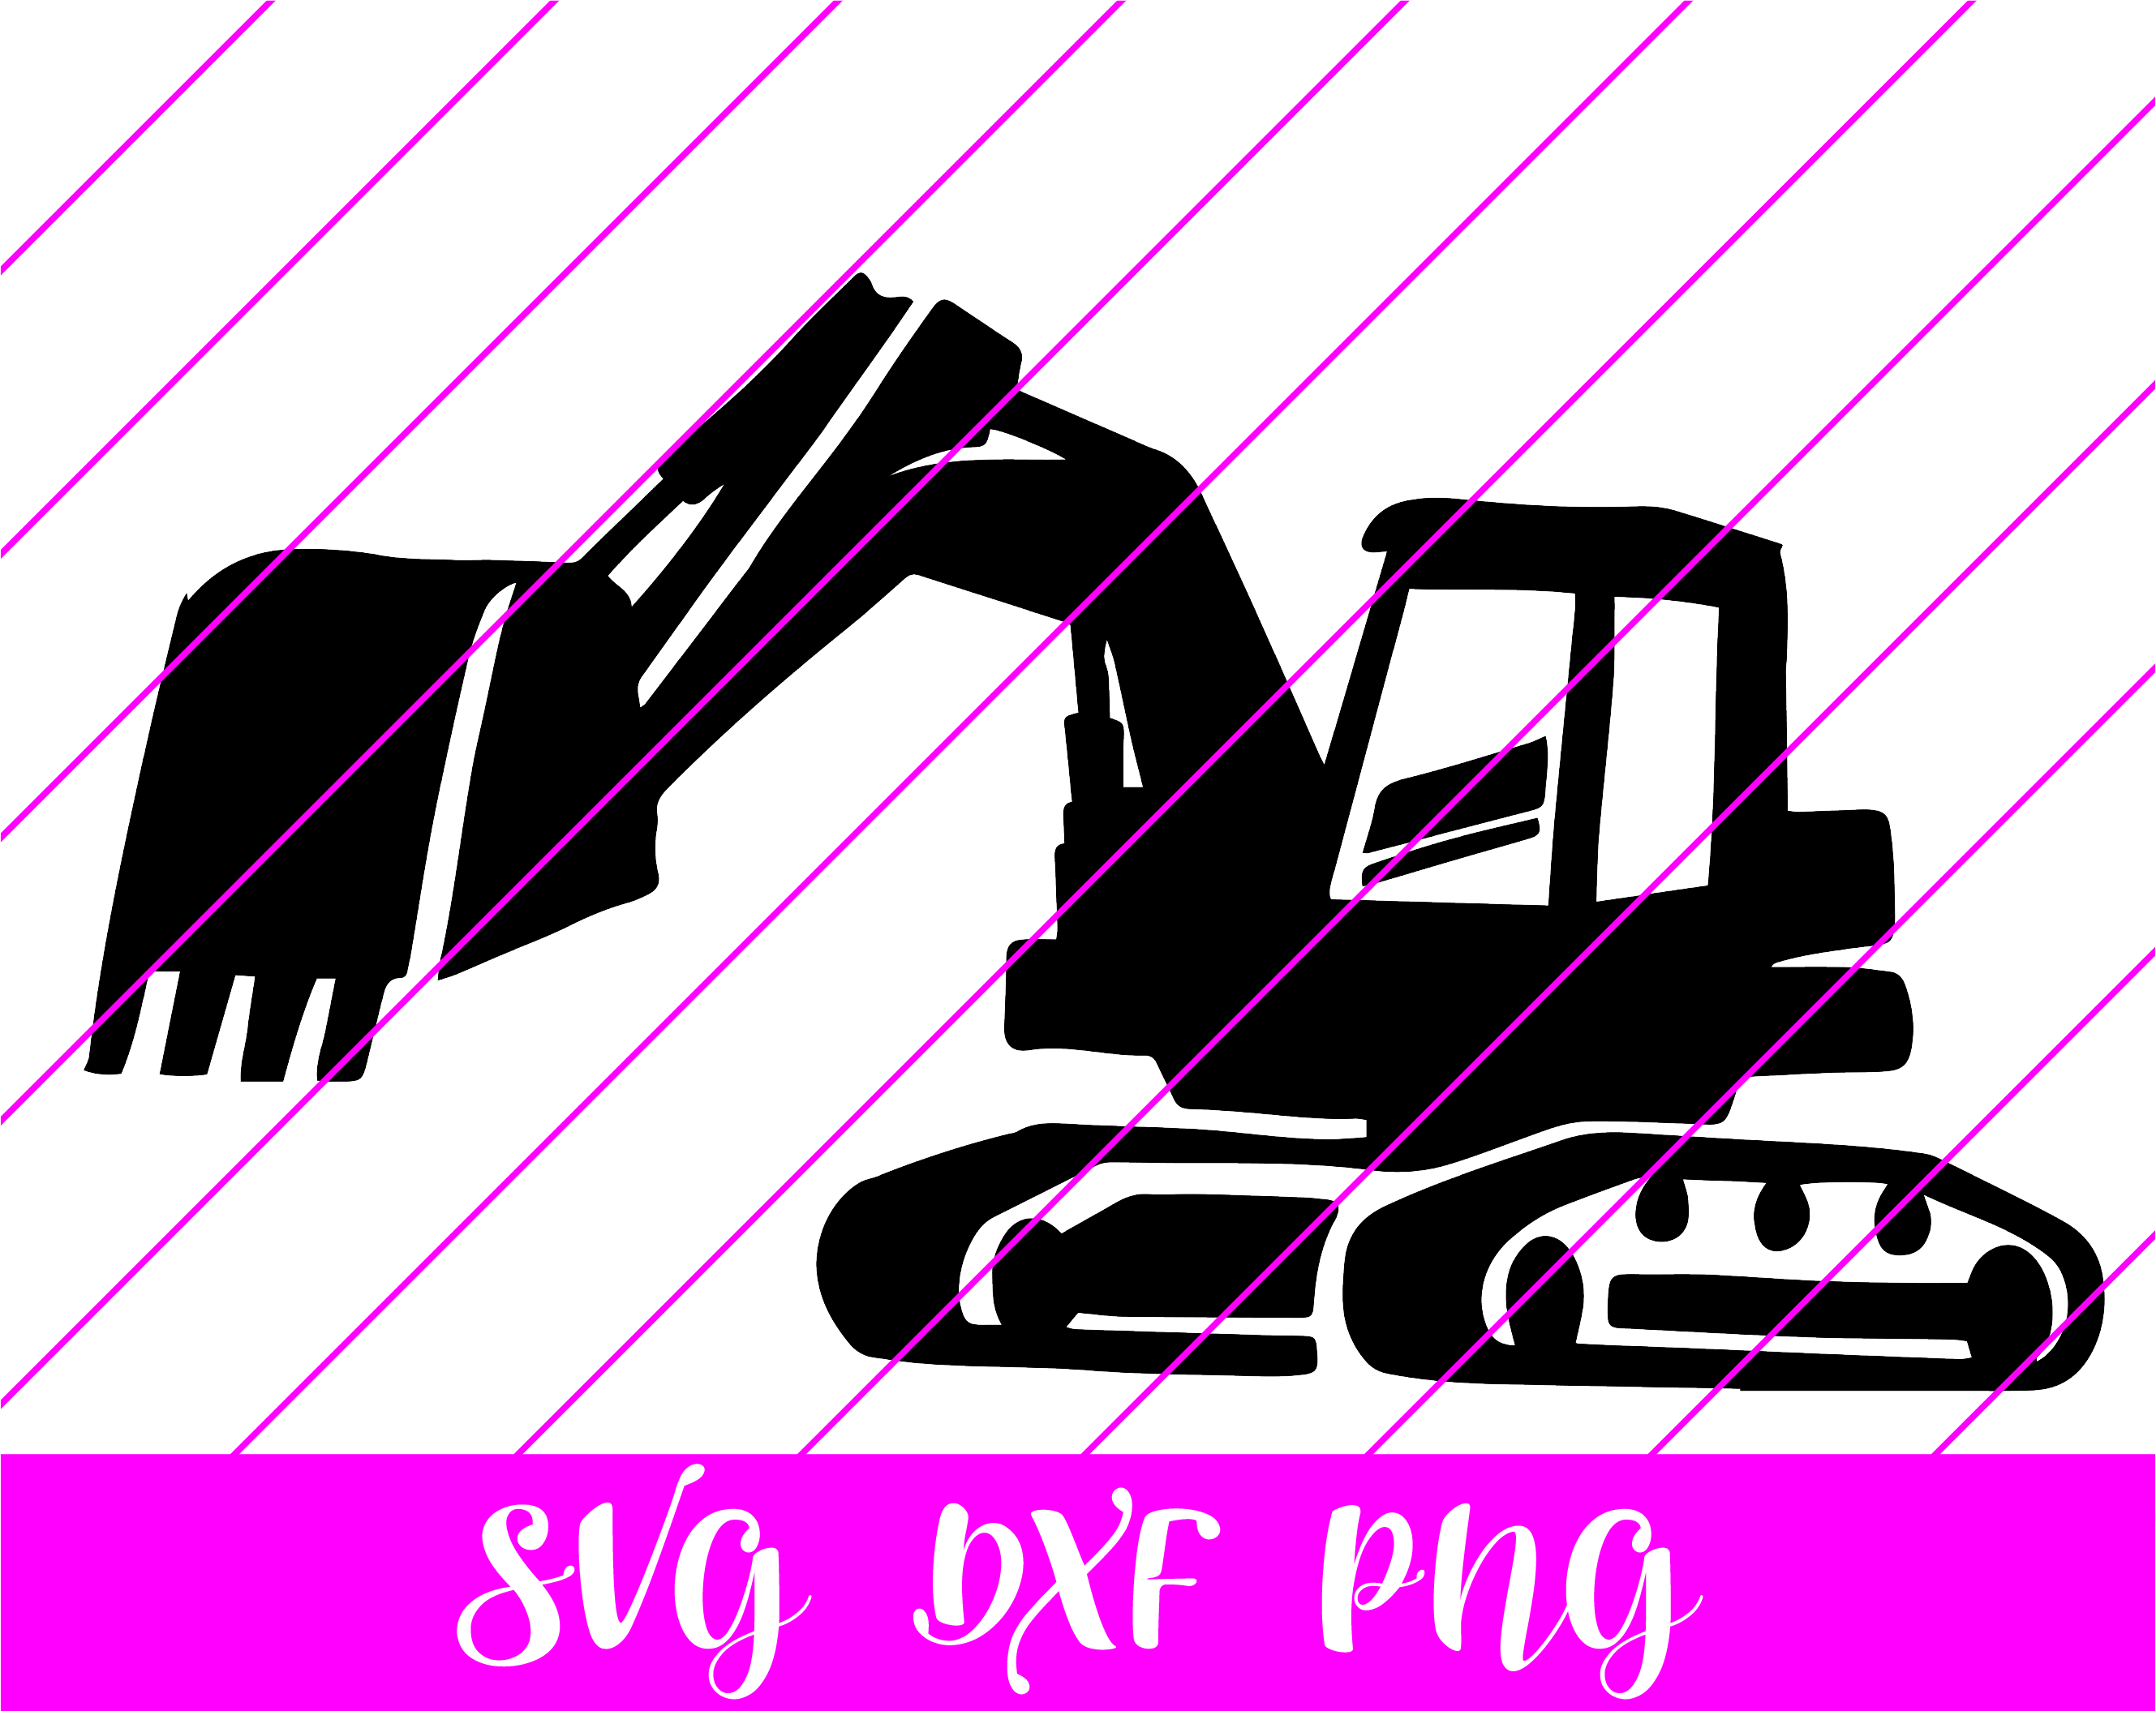 Excavator SVG – Free Excavator SVG Download
 FNAF Freddy Fazbear SVG – Free Freddy Fazbear SVG Download
 I Love My Nana SVG – Free I Love My Nana SVG Download
 Mario SVG – Free Mario SVG Download
 Puzzle Piece SVG – Free Puzzle Piece SVG Download
 Smile SVG – Free Smile SVG Download
 Starburst SVG – Free Starburst SVG Download
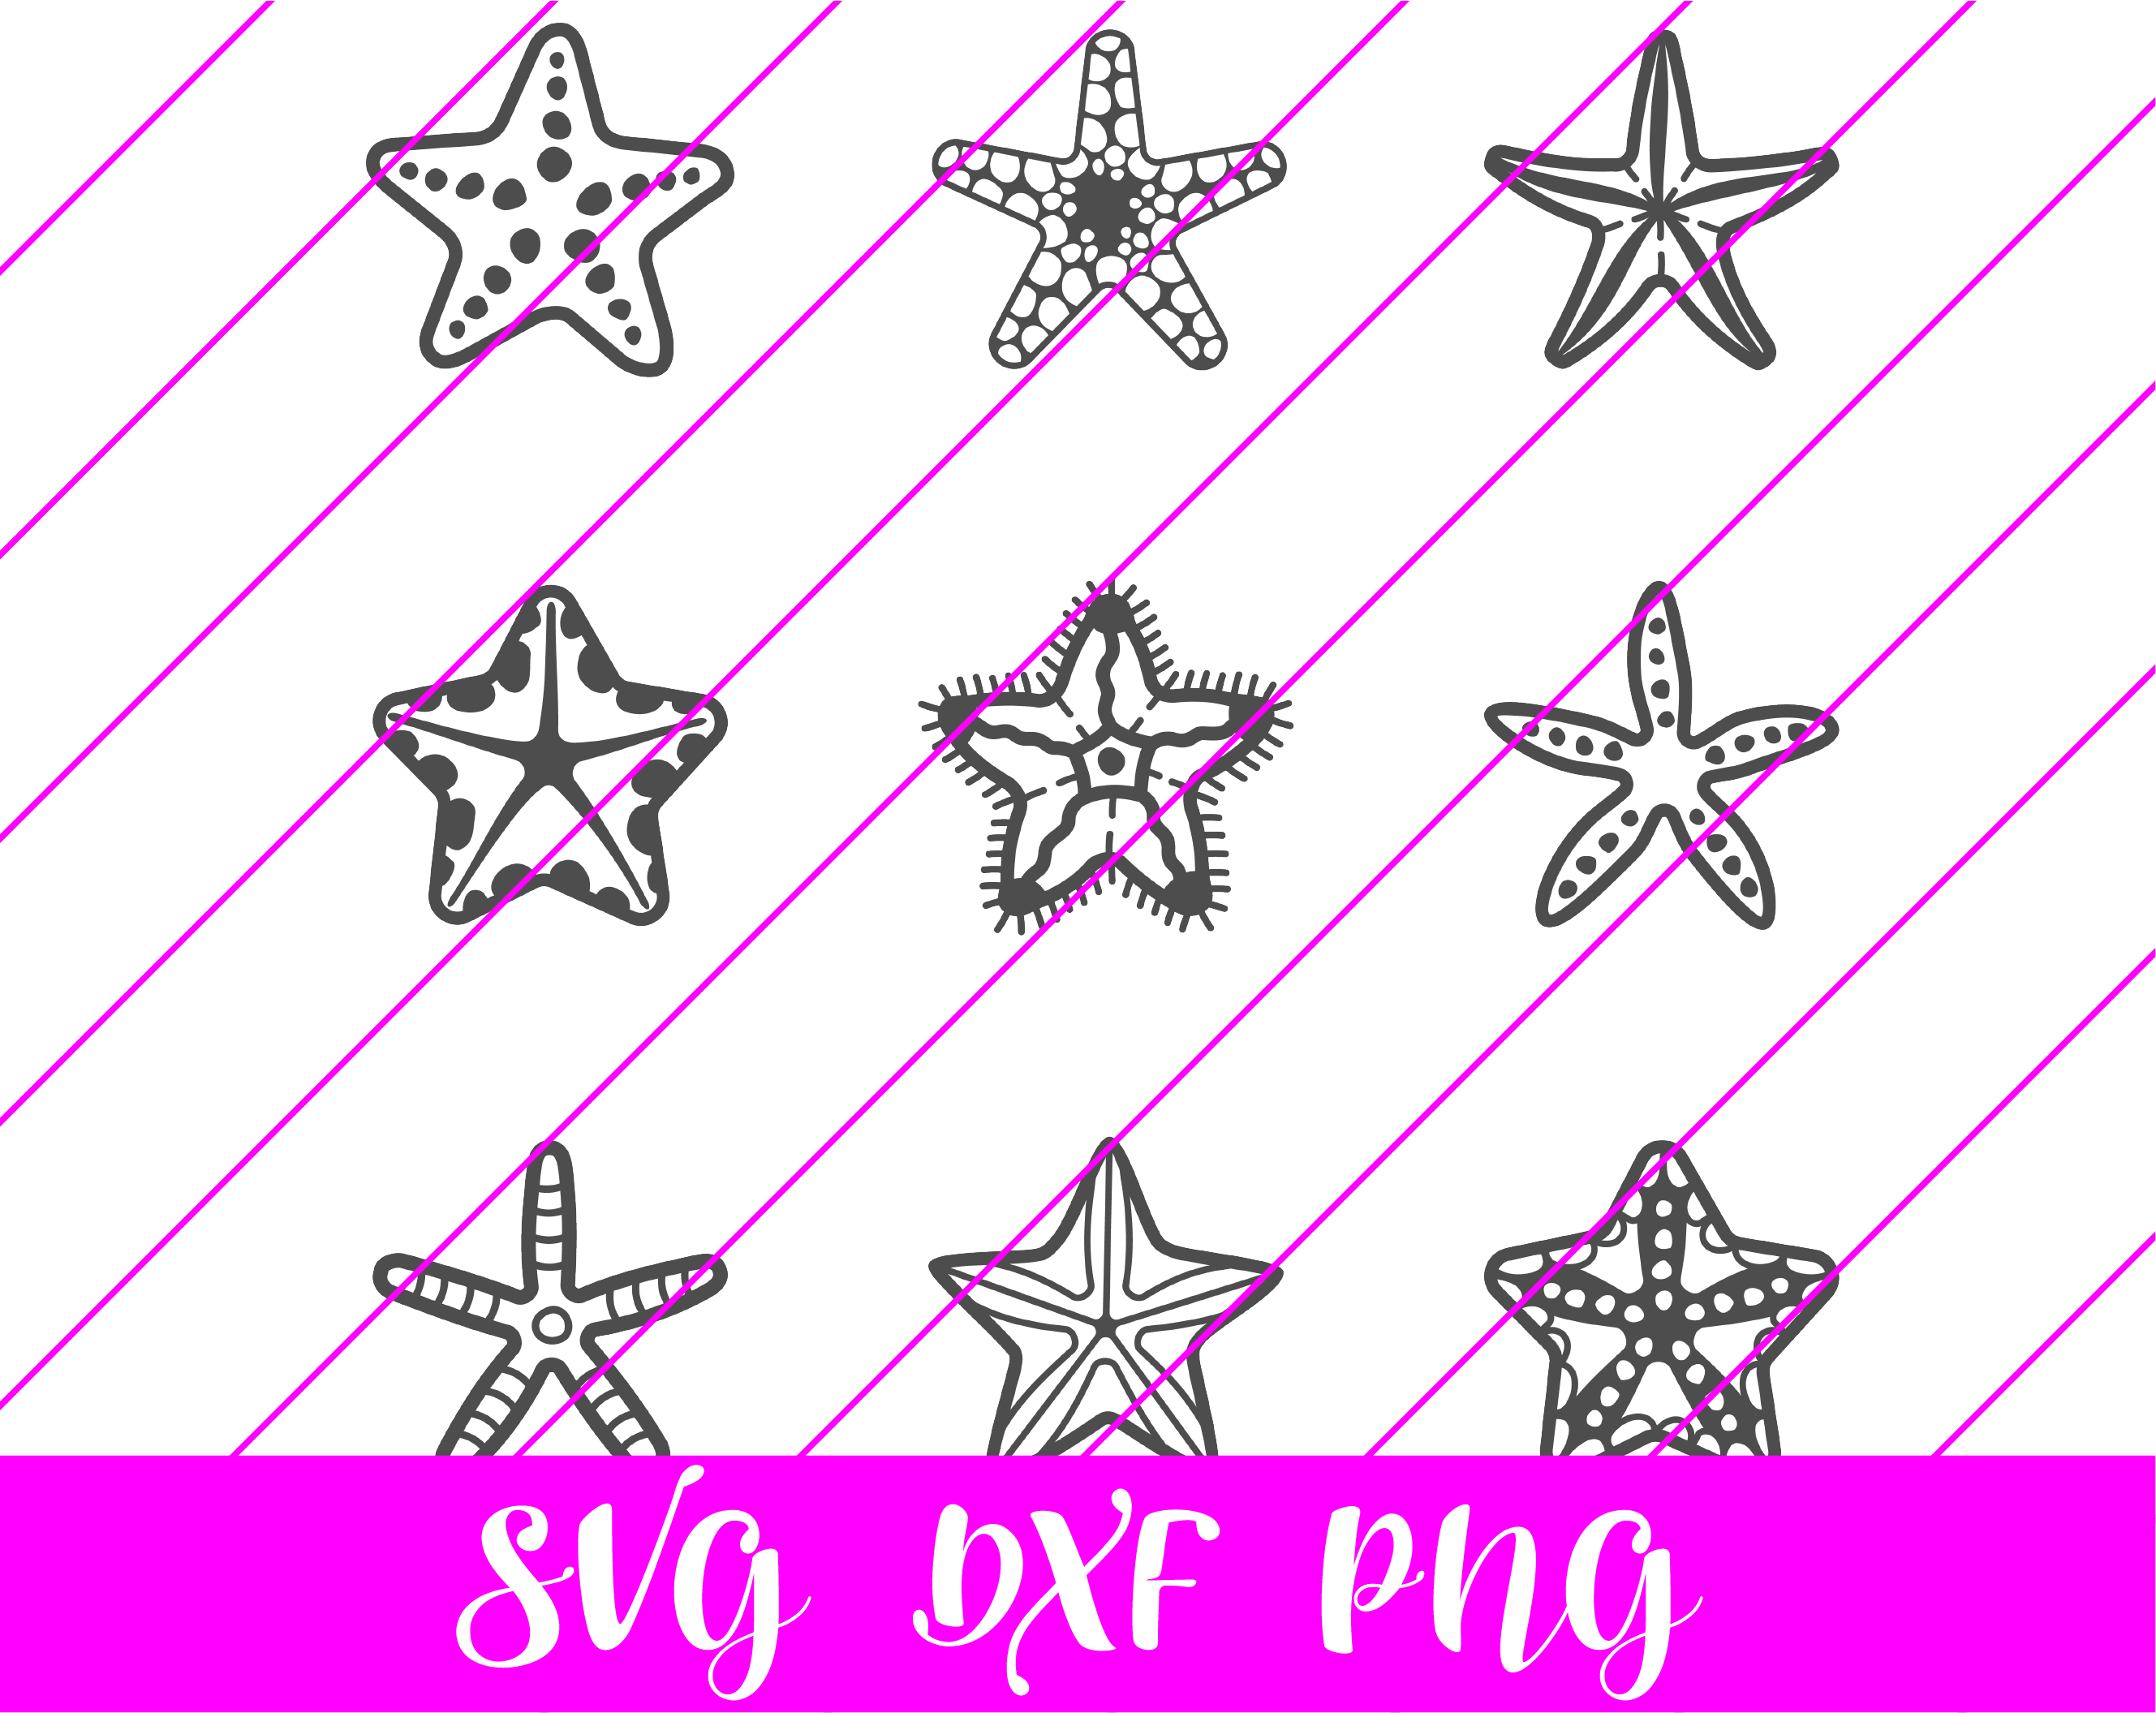 Starfish SVG – Free Starfish SVG Download